Showing posts with label Declutter. Show all posts

Friday, October 10, 2014

ORGANISING OFFICE DESK

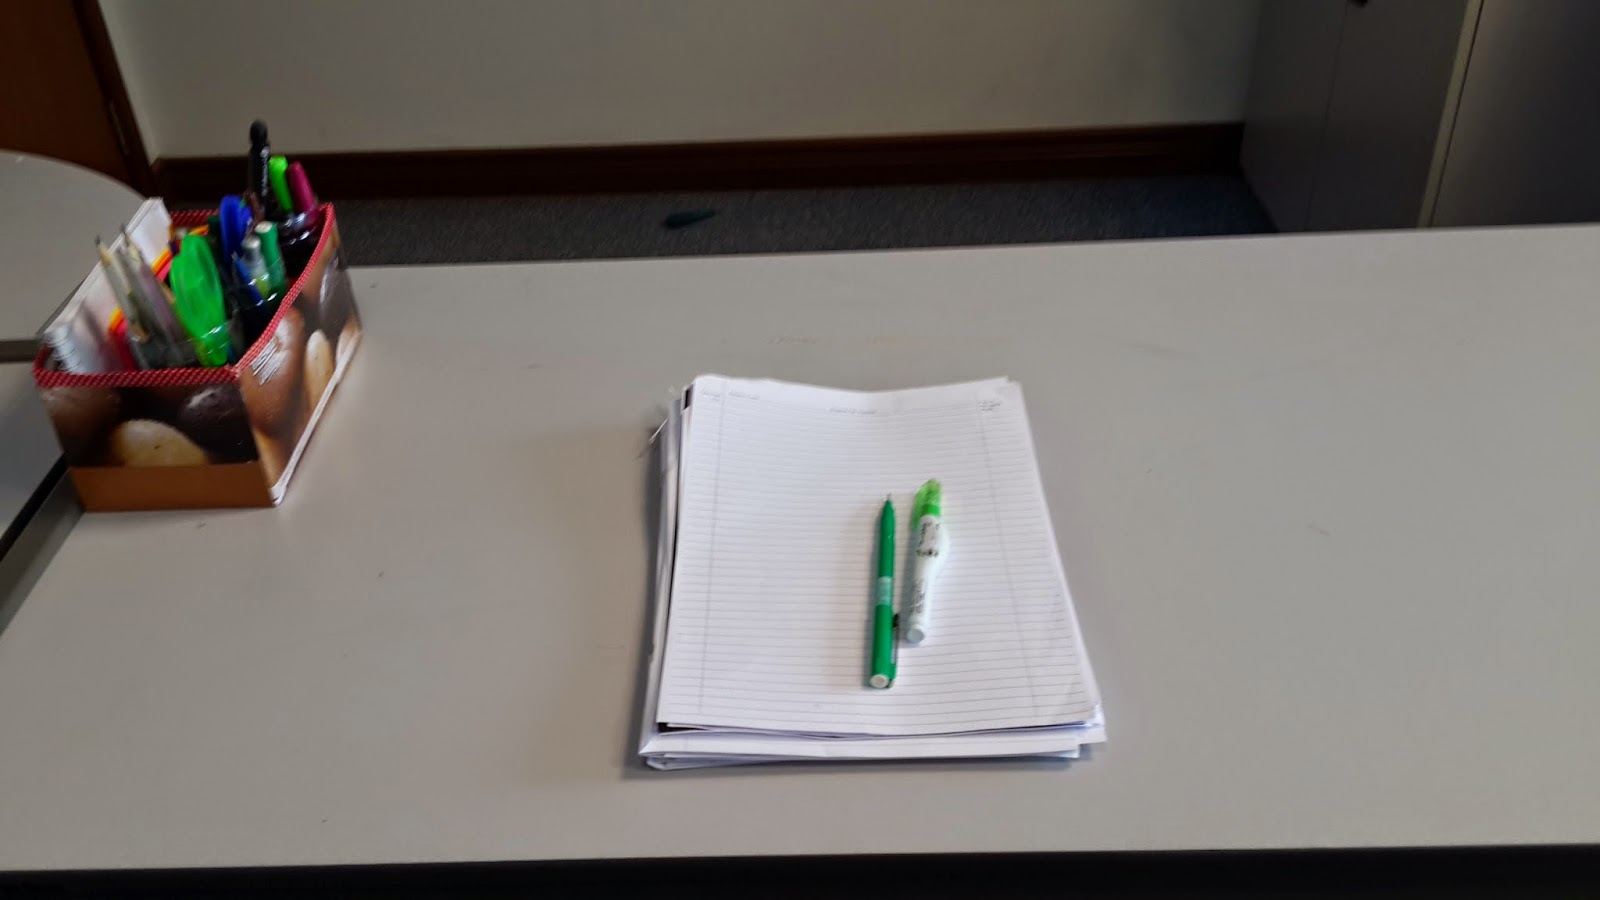
My nature of work involves with a lot of papers. Need to organize them before I lost or thrown something important unintentionally. The project this time is to organise the office desk and drawers.

 Steps
1. Buy paper sorter trays. Arrange all papers in the paper sorter accordingly. Write labels using small post-it notes. Use washi tape to stick the labels on the tray.

    
2. Put frequently used stationary on the desk in recycled mineral bottles. To hold them in place, arrange the bottles in recycled tissue paper box.
    
3. Clear & clean all drawers. Use the lunch boxes and recycled biscuit packaging to separate items.


Cost
Paper sorter tray 3xRM15.90 = RM47.70 (Giant)
Lunch box 2xRM2.50 = RM5 (Mr DIY)
Total = RM 52.70

What next?
I plan to buy one more set of the paper sorter tray for the coming project.

Before & after
Happy eyes = happy neurons = happy outcomes :)


a. Writing desk


b. PC desk


c. Overall view


Monday, August 18, 2014

ORGANIZING FRIDGE

Hubby: Dear, can you please get me Angah's cough syrup?
Me: Okay...

T.T It's not a simple task actually. I had to take out the bottles and read the labels one-by-one! A routine that has been going on for sometimes. Since, it's been a while since I organize anything, now is the perfect time to organize not only the medicine bottles but the whole fridge as well.


Steps
1. Take out everything from the fridge and wipe clean the surfaces.
2. Cut the fridge liner to size.
3. Arrange interior of the fridge as follows:
- Level G: vegetables
- Level 1: Cooking materials
- Level 2: Fruits, leftover food
- Level 3: Breakfast items, leftover food
- Level 4: Honey, etc
4. Arrange door of the fridge as follows:
- Level 1: Ketchup, sauces, colek paste
- Level 2: Fresh milk, honey, juices
- Level 3: Medicine (according to age Baby, Primary, Adult)
- Level 4: Dates, chocolates
5. Labels the boxes and racks.
6. Put the fridge magnets elsewhere.
7. Update the family calendar.


Cost
1. Fridge liner RM? (Mr DIY)
2. Container box RM?x2 (Mr DIY)
3. Small tray RM?x2 (Mr DIY)
4. Label sticker RM1.90x2 (The Store)
Total RM?

What next?
Will buy proper containers to store the leftover food. At the moment I store them in bowls or plates.

Before & after
Mission accomplished :) 


Wednesday, July 9, 2014

ORGANIZING BILL RECEIPTS


Assalamualaikum & good day,
In this post I wanna share about how I sort & organize my bills (task 26 in to-do list). Initially I made a mail sorter using 3 cereal boxes. Over the time, the mails & bills would just pile up in there, collecting dust. It just didn't work for me. Inspiration please...
  
  {The Organised Housewife} 2015 Bill Organiser 600
 Jen's

I love how Katrina & Jen manage their bills. Very neat & tidy. Thanks for the ideas gals! 
Here comes my new bill organiser :)

Mine

Steps
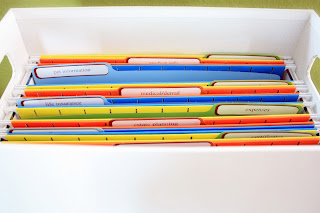
  1. Buy 3 expanding files and a magazine holder
  2. Label the file as yearly payment, monthly payment and tax exemption
  3. Sort the bills in the files accordingly. Label the tap.
Cost
Expanding files (3xRM10)  RM30 (Billion)
Magazine holder RM16.90 (Billion)
Total RM46.90

What next?
Sort other bills in the folders.

Before & after
Here are the before & after photos. Hopefully the new system works!


Sunday, May 25, 2014

VISION BOARD


One of my to-do tasks was to create a vision board. Never had one. My visions were in my head :D But, laugh no more. Studies have proven that people who write their visions & read them frequently, tend to achieve their visions sooner than those who didn't write their visions explicitly. No wonder it took longer for me to accomplish my visions. It's time to change! So, where do we start? 

Steps

1.  Set up a noticeboard with the followings [Ref]:
    • Calendar - Use my diary 
    • Inspiration and motivational images 
    • An inspiring quote - I have calendar with quotes
    • Goals - I use this template 


2. Use the noticeboard as planner

I like Samantha's idea on noticeboard/wall organizer using post-it. Will implement the same with mine since I'm using a soft noticeboard, use of post-it will ensure my noticeboard will have longer lifetime. 


3. Next, decide on where to hang the noticeboard.
The best option for me is to hang it in front of my desk. This was my working table but I didn't normally do my work there for obvious reasons. So, I replaced the table & organize the books and stuff to where they belong.


Cost
Soft board RM? (Will put the price soon)
2 frames of photos RM4 (RM2 shop)

What next?
Put the the stationary in a container with dividers.

Before & after
I'm all geared up. Hopefully we'll achieve our life visions. A reminder to me...


“If you fail to plan, you are planning to fail!”― Benjamin Franklin 


ORGANIZING KIDS BOOKS


In my last post, I showed you the above shelves where I put in

  • middle row : kids' school books arranged in file stands 
  • bottom rows: hand-me-down books, archive of stuff & exam papers 
  • top rows: kids' story books.  
I arranged the books this way, so that it'd be easy and quick for me to get access to the books or any revision materials. But, as you may also noticed, this was not a good arrangement for the kids. The story books were not at their eye level. If they couldn't see the books, we couldn't expect them to read the books, right? 

Okay, inspiration photos before I started my organizing process:


{The Organised Housewife} Toy Room


Mine

Steps
  1. Take down everything from the shelves and wipe off the dust 
  2. Clear the access to the story books - move the leaning-lamp-shade and the table besides the shelve
  3. Put a couch next to the shelve - relaxing reading corner 
  4. Re-arrange the papers, books and other stuff back on the shelves. Naming the shelves from bottom to top as 1 to 5,
    • Shelve 1: media related equipment 
    • Shelve 2: kids' school books arranged in file stands 
    • Shelve 3,4: kids' story books      
    • Shelve 5: hand-me-down books, archive of stuff & exam papers (arrange the cereal boxes on the sides) 


Cost
RM 0


What next?
Write checklist of the revision books & the exam papers. Will save me hours in future. The labels will also be replaced to reflect the contents better.

Before & after
To pen off, here are the before & after. Now, the kids & I can sit comfortably on the couch reading the books =)


Tuesday, May 13, 2014

FAMILY CALENDAR

One of my to do tasks is to create a family calendar and since my forth child is having difficulty in understanding 12-month calendar system, I felt the urgency to complete this task. My plan is to utilize the cabinets' door above our coffee/tea bar as our family calendar where we can write coming events and activities. 

Steps
  1. Cut a calendar to separate the numbers & the pictures. 
  2. Put up the second quarter months of the year on the cabinets. (the pictures will be used to decorate my laundry area)
  3. Climbed on a stool and wrote down our family activities in the respective month section.
Cost
Calendar RM0 (got it free)

What next?
Paint the aged-looking-stool that I used to climb on and prepare a home to hold the pen & duster for the new noticeboard.

Before & after
Hope these can inspire you :)


(The writings are not clear. Will update the photo soon)

Monday, May 12, 2014

TOYS ORGANIZATION


That's Adik cute hand & foot
I don't have a 'formal' play room in my house as only Adik (the youngest) is actively playing (read throwing) toys. Since, we mostly spend our time in the living area, I just put all the toys in one big container, under the coffee table. The problem with having a big container, I will tend to put other things in it too when I was in a hurry to tidy up the area. Not a good practice. 

Steps
  1. Searched in my kitchen for suitable containers to organize the toys. Found spare ones, similar to container I used to store my cereals
  2. Grouped the toys as follows: big legos, stuffed animals, connecting-circles (Mr DIY) and colorful screws (Mr DIY) 
  3. Put reading books in a basket
  4. Arrange the containers & the basket in bottom shelve of the left hand side cabinets.

Cost
Containers RM0

What next?
At the moment I don't need any label on the container. Might put labels there in the future.

Before & after
Enjoy =)


Thursday, May 1, 2014

DRAWER ORGANIZATION

In most houses, you can see a console table in their living rooms. But not in my house :) Used to put one, but after sometimes, I figured by having it I wasted valuable space in my petite size house. So, I replaced the table with our shoe cabinet. Yes, you read it correctly the first time. I used a shoe cabinet as shown below.

I've seen at least one other blogger resort to the solution similar as me (sorry, I didn't have the link). Well, as you can see, for the same area I could get more storage space by using the shoe cabinet. Hooray! More space = more stuff. So, when I opened the drawer...


A total chaos! Is having more stuff not good? Nope. What it needs is a little of TLC. Equipped with plastic containers, wrapper and stickers, I went to work.

Steps
  1. Remove all the items in the drawer. Wipe clean the drawer (I used baby wipe)
  2. Cut the wrapper to fit in the drawer
  3. Arrange the plastic containers
  4. Put label to each container & then fill the items accordingly.
Cost
2 packs of plastic containers RM9.80 (Billion)
Wrapper RM0.80 (Mr DIY Store)
Total RM10.60

What next?
I will change the orange-colored sticker to pastel or white one. More eye-friendly. The shoe box that holds the 'Tools', will also be changed to clear container once I found one with the right size.

Before & After
Let's end the post with the before & after photos. Happy organizing everyone <3


Friday, April 25, 2014

MONTHLY CHALLENGE: FAMILY AREA

This is my first entry in an organizing challenge :) which is organised by Susun Atur Sioca Kecil. The sponsors are

  1. Rehan's Wardrobe & 
  2. Aku Bukan Penulis Tegar 
As an introduction, my family area is average in size. There's nothing much can be done in terms of arrangement of the furniture. In addition, my youngest child is only 1 year plus. That really constrict how and where I put my stuff. 

In this entry, I only want to address one problem. The messiness of the shelves - quite obvious right. A family area is where we want to have a peace of mind, chatting with each other whilst watching the TV. I can't enjoy/concentrate on the TV program because of the two-disorganize-shelves by it's sides. Who can? So, after months of patience, I decided to eliminate this problem. 

Steps
  1. Emptied both cabinets & gave them a good wipe.
  2. Re-arrange and put all the books in the right hand side cabinet ONLY 
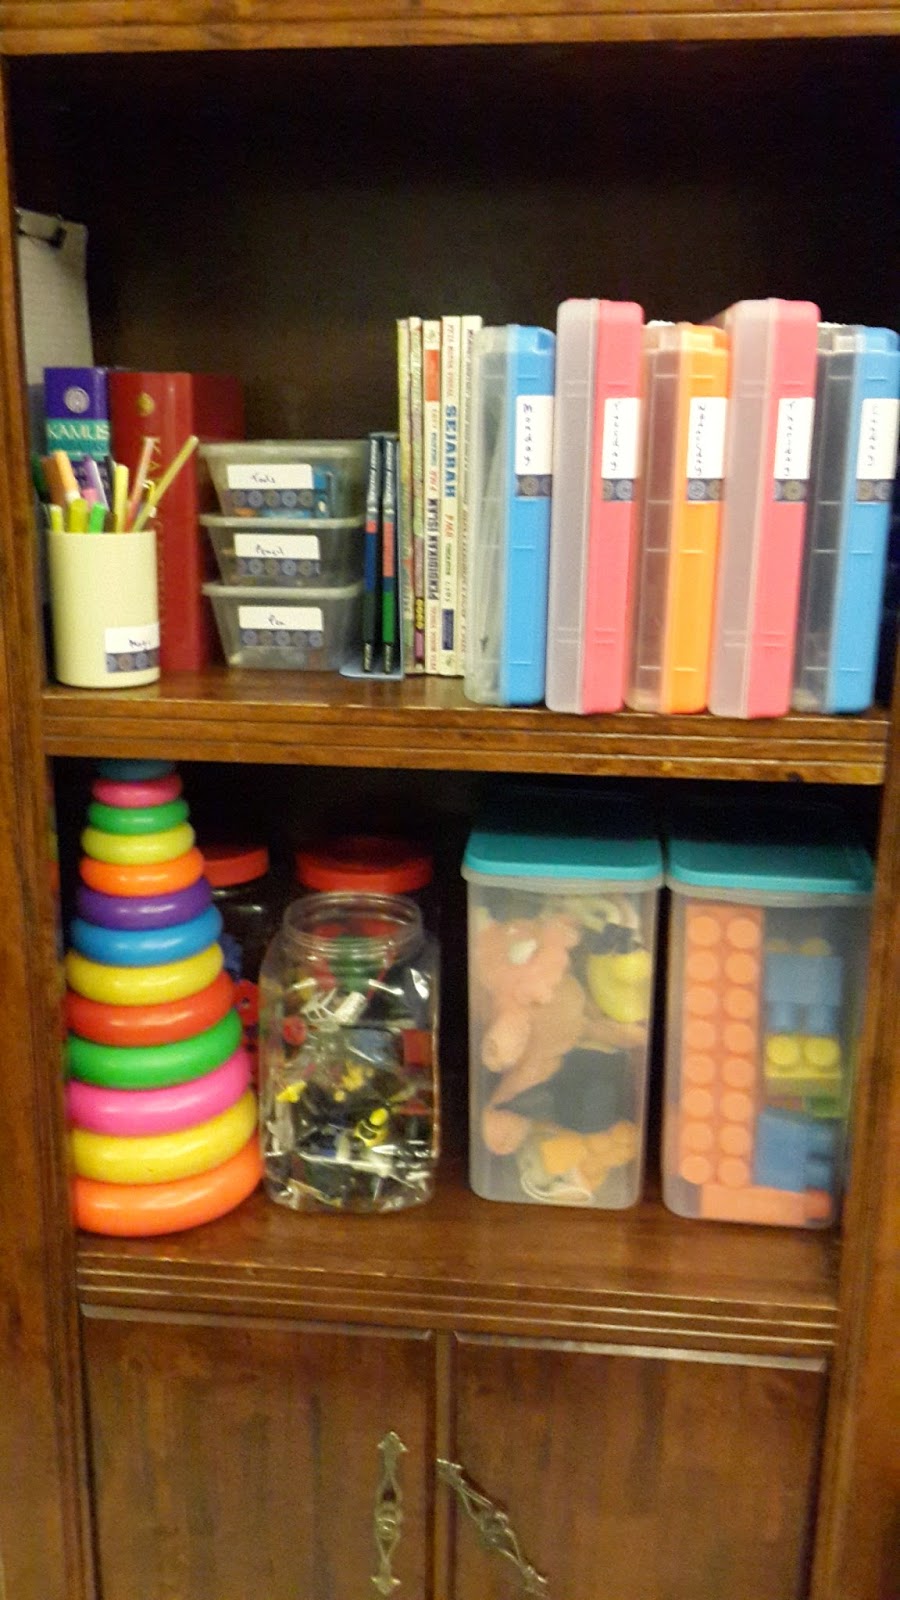
  3. Designate the open shelving on left hand side cabinet into three areas namely display area (top), stationary area (middle), toy area (bottom).
  4. Arrange the remaining items in their designated areas.
  5. Display area - added a pot of flowers :)
  6. Homework station - Grouped like-stationary-items together in containers. Put revision books in file folders.
  7. Toys area - Put the toys in a number of boxes (easier to rotate the toys for Adik to play with)
Cost
Free labour.

What next?
Organize the closed-door shelves. At the moment, they acted as my extra throw-in-junk-place. Sad but true.

Before & After
Took me a few hours and the results I leave it to you to see it yourself ^_^ ... (Sorry. have problem with uploading the photo)

Right hand side cabinet


Left hand side cabinet


Linking with Fizah's challenge

LinkWithin

Related Posts Plugin for WordPress, Blogger...